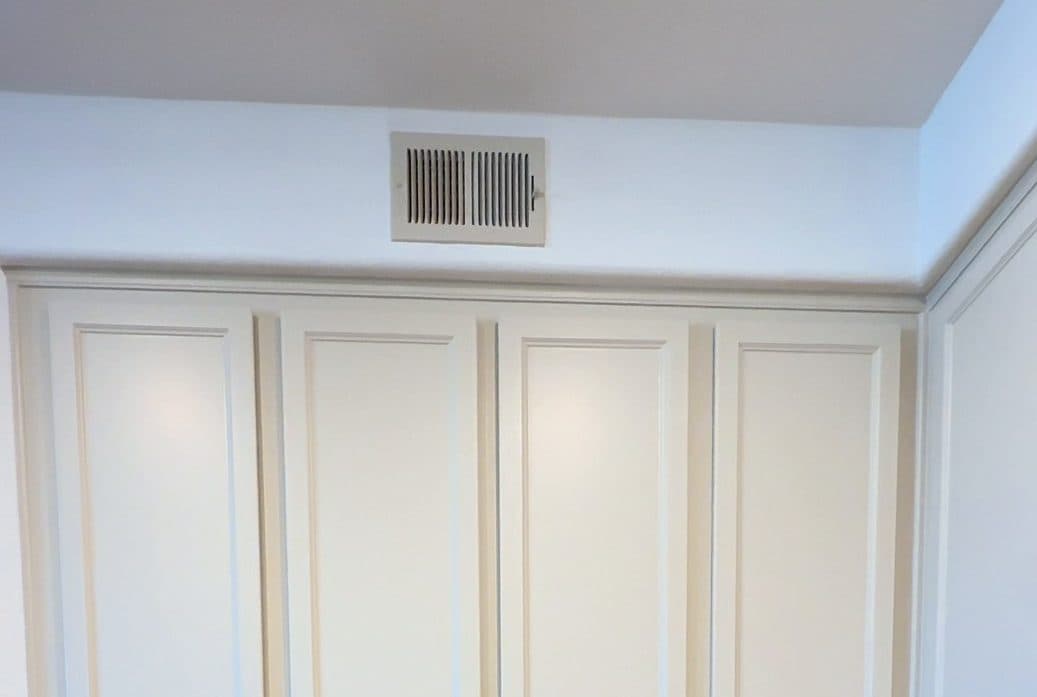
No stock photos in this one. This is a real cabinet refinish our crew just finished in a San Diego home: a full kitchen, a bathroom vanity, a laundry room and a bedroom built-in, all taken from dark espresso to a bright new finish without replacing a single cabinet box.
Where this home started
Every cabinet in the house was the same dark espresso stain: the kitchen uppers and lowers, the bathroom vanity, the laundry room and a large bedroom built-in. The cabinet boxes themselves were solid. They just made every room feel darker and older than it needed to.
When the boxes are in good shape, replacing them is usually the most expensive way to get a new look. Refinishing keeps the layout, skips the demolition, and means you are not living without a kitchen for weeks. If you want a sense of the numbers, our San Diego cost guide breaks down typical cabinet refinishing prices.
Step 1: Seal off the house
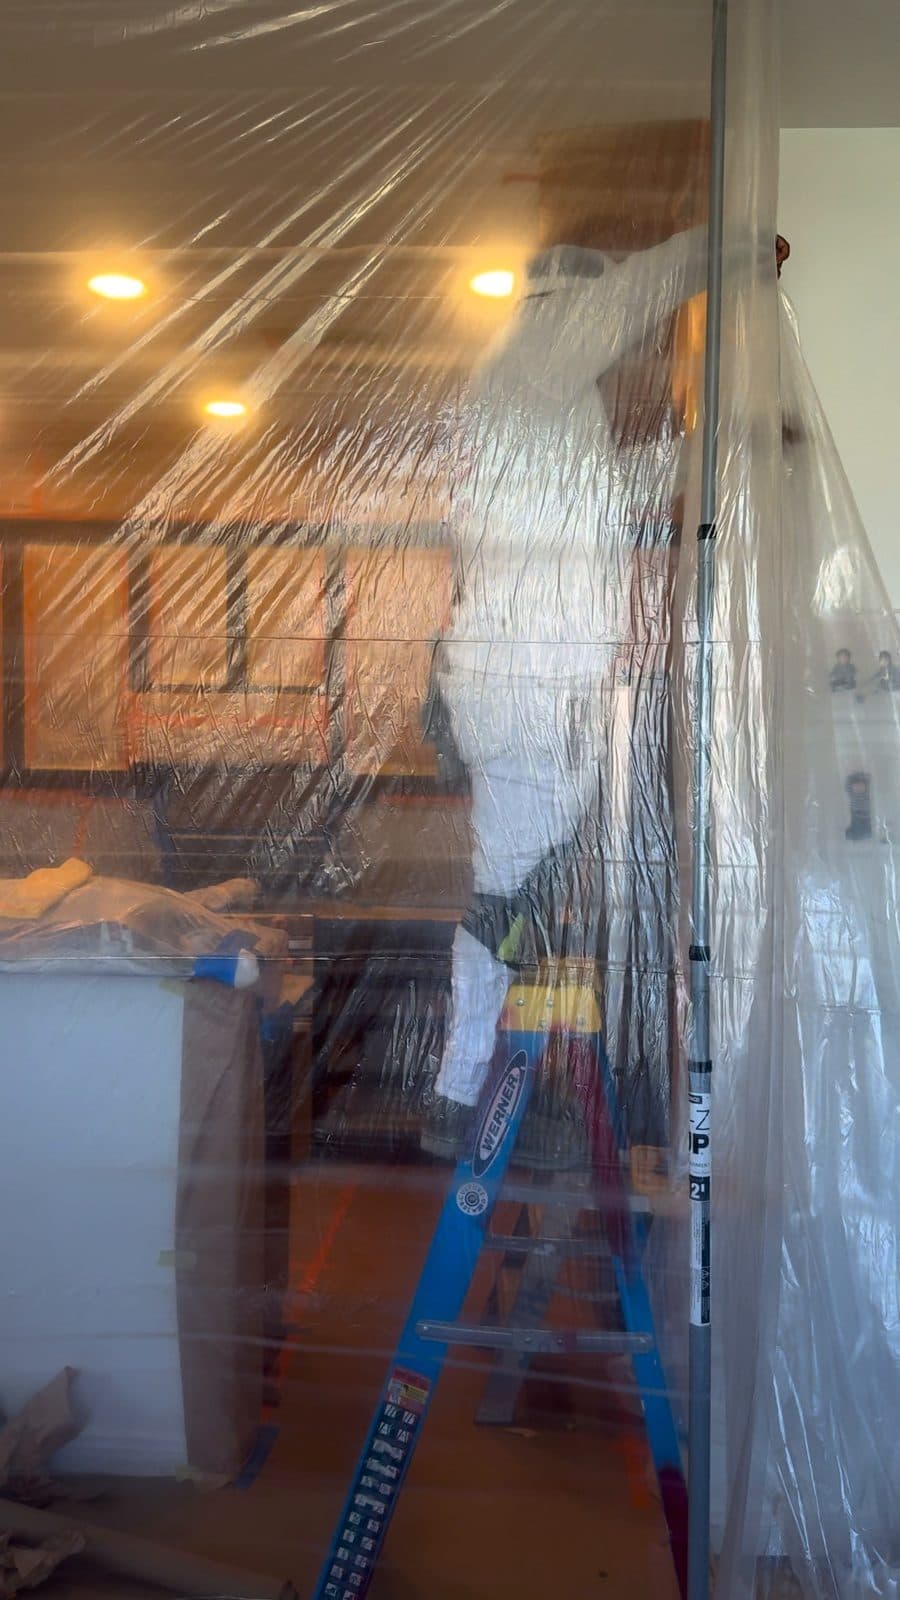
Before any sanding or spraying, we put up zip walls and plastic and covered the floors. Cabinet refinishing creates dust and overspray, and none of it should end up in the rest of your home. This is the step that separates a clean job from a mess you are still wiping up a month later.
Step 2: Doors come off and go in a spray tent
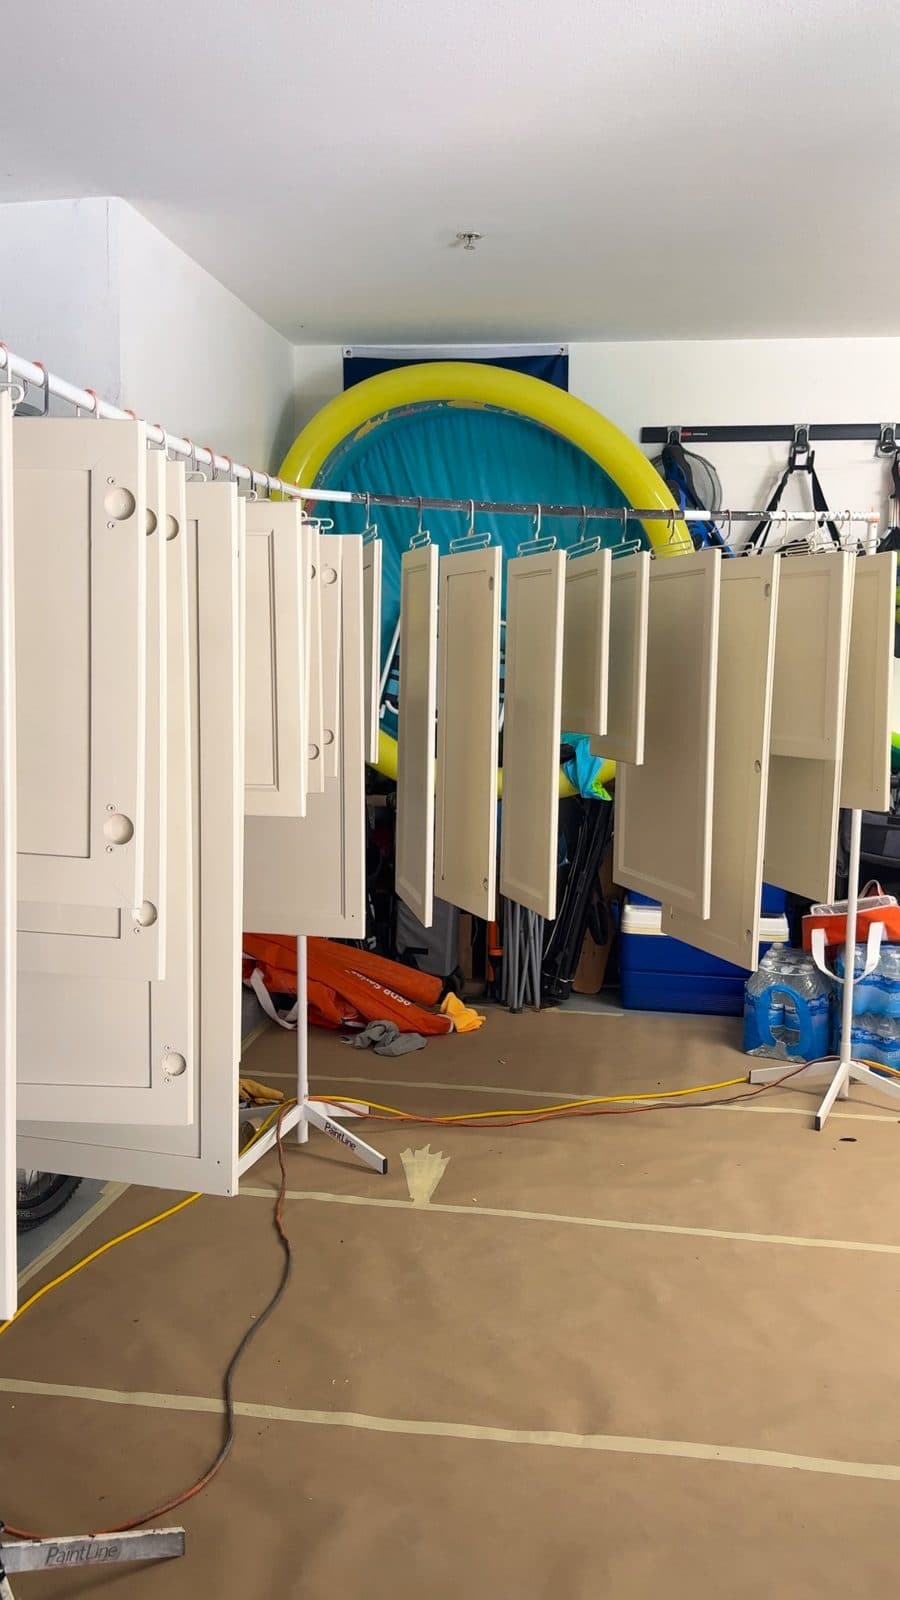
Every door was removed and taken to a sealed spray tent we set up for the job. Each one was sanded, primed and sprayed hanging on a rack, so every edge and face gets even coverage. Spraying is how you get a smooth, factory style finish with no brush marks or roller texture.
Step 3: Prime and spray the boxes in place
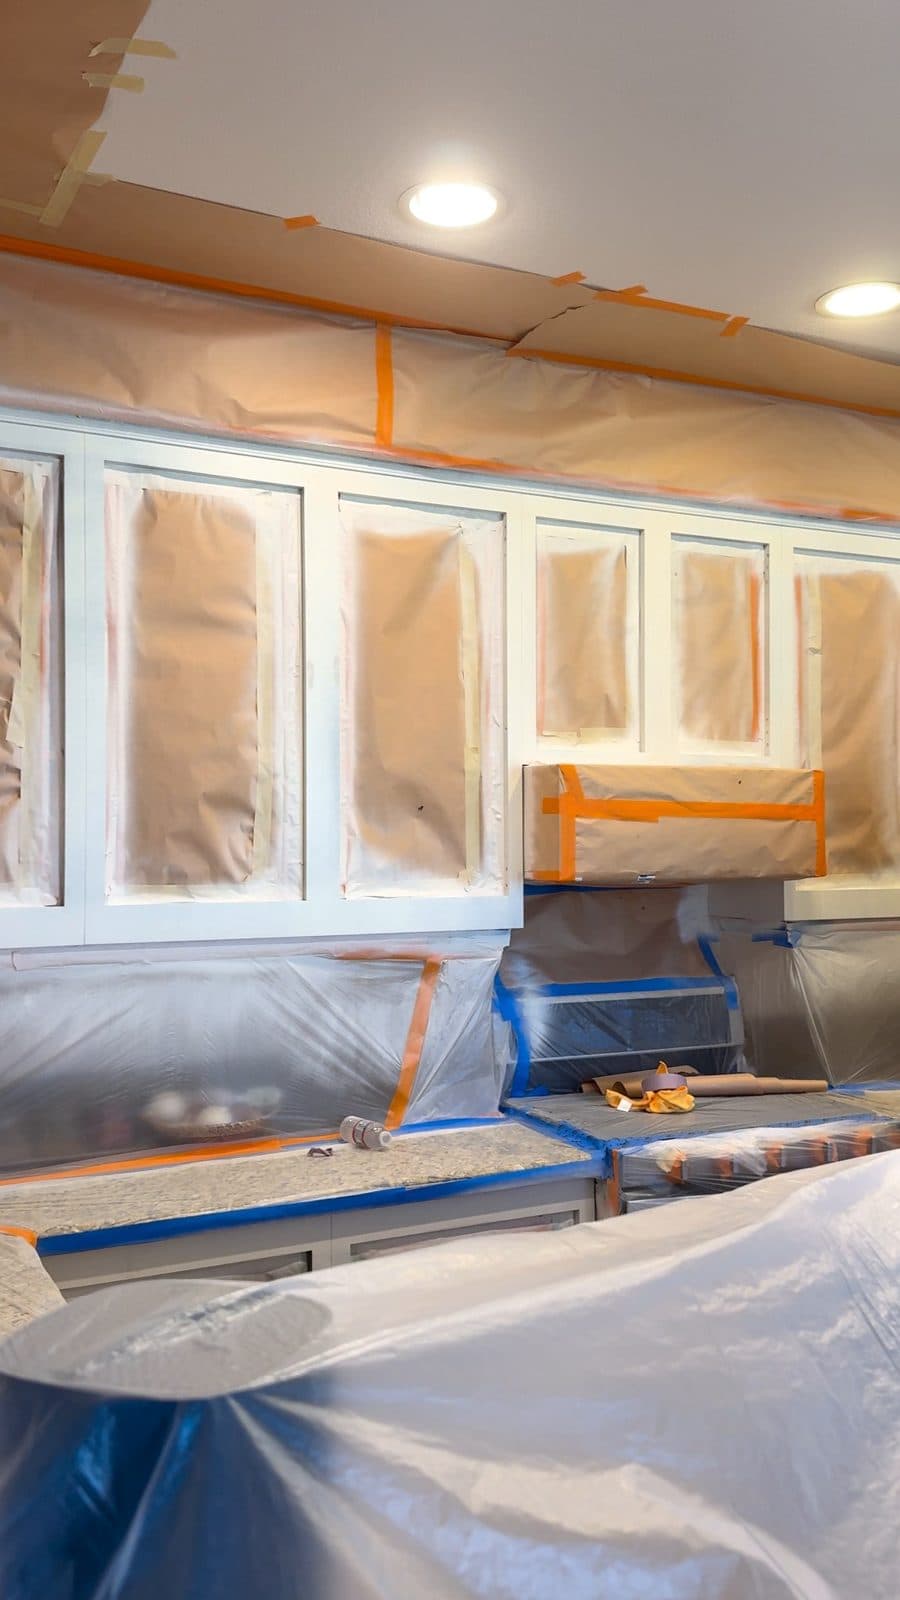
The cabinet boxes stay where they are. Everything around them, from counters to appliances to walls, gets masked off, then the boxes are primed and sprayed right in place. Primer is what lets the new finish grip a slick stained surface instead of peeling later.
Step 4: Dry, then rehang
Freshly sprayed doors dry on the rack before they go back up. Rushing this step is how finishes get dented and fingerprinted. Once they were ready, every door and drawer front was rehung and adjusted.
The result, room by room
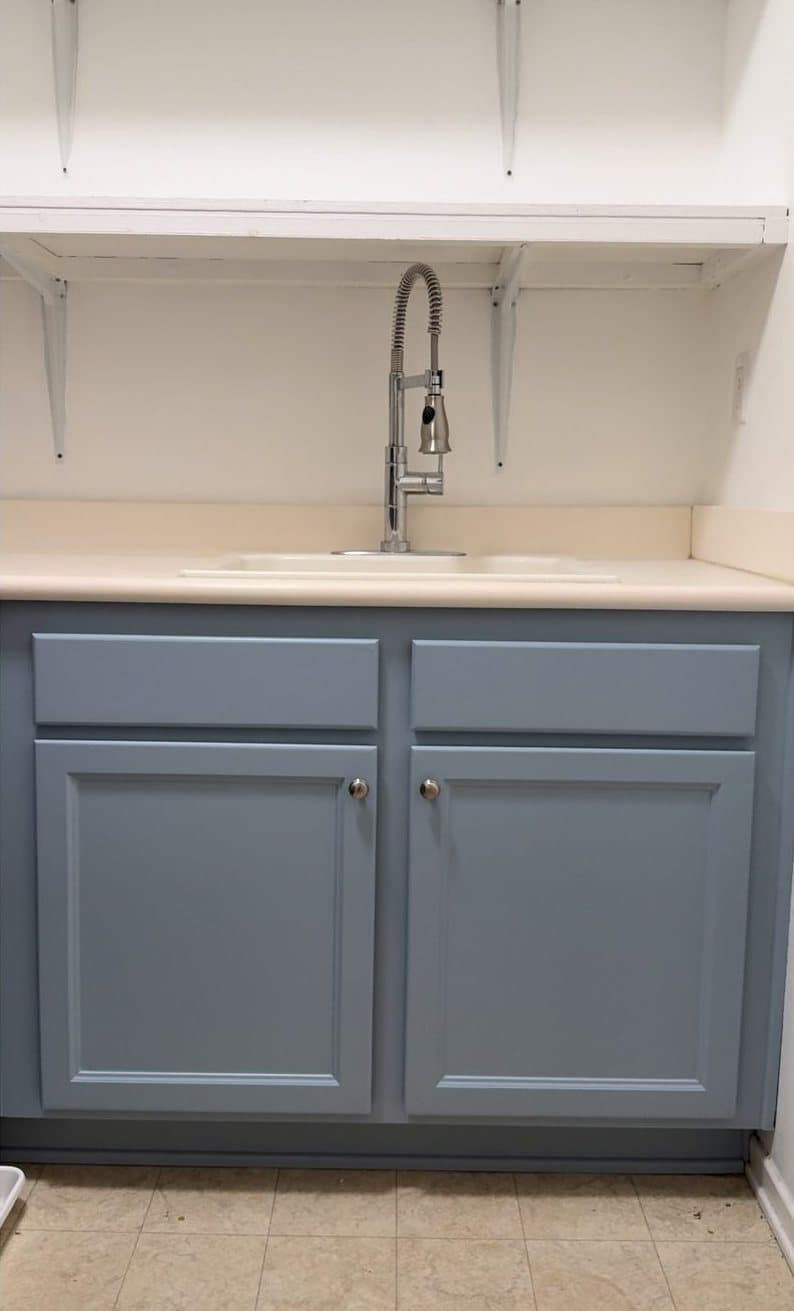
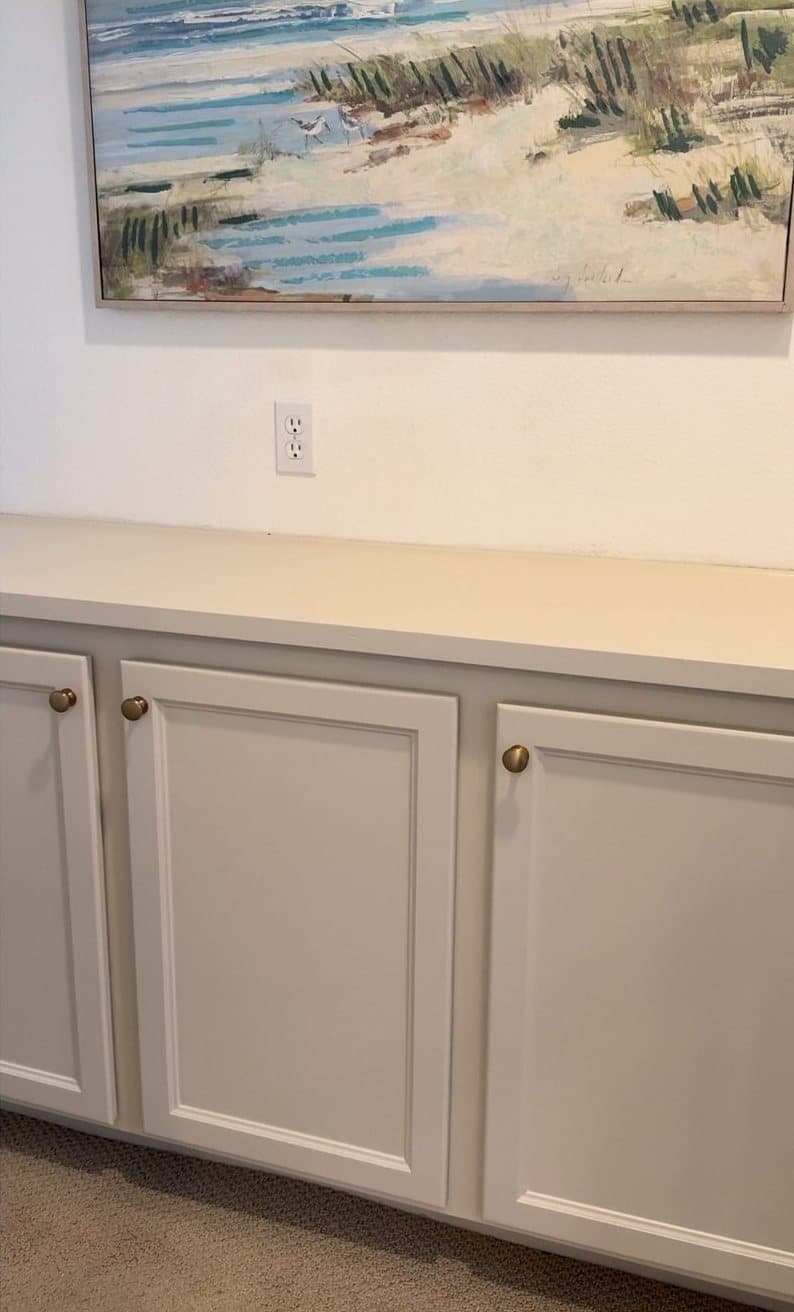
The kitchen went bright white. The bathroom vanity and laundry room went a soft blue gray, and the bedroom built-in got a light finish to match the rest of the home. Same cabinets, completely different rooms.
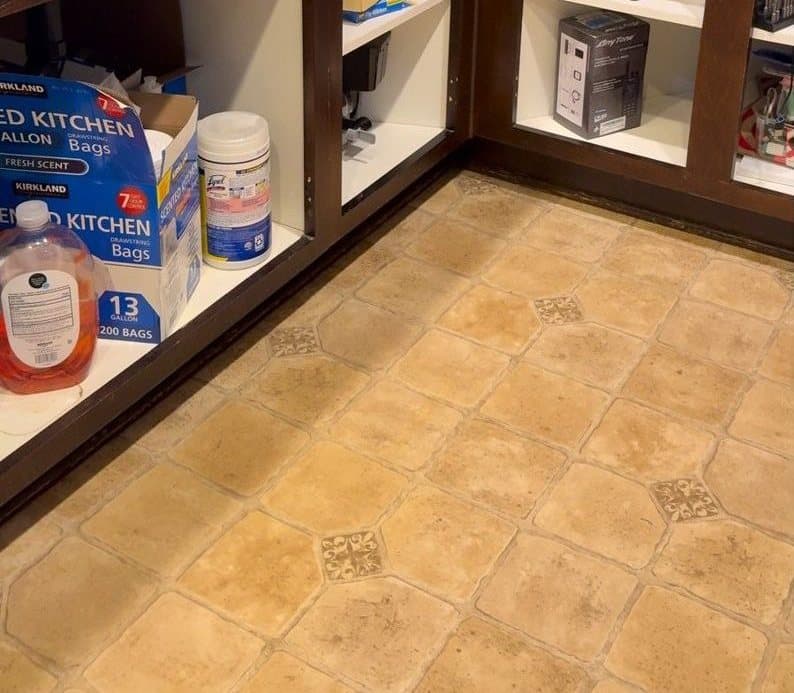 Before
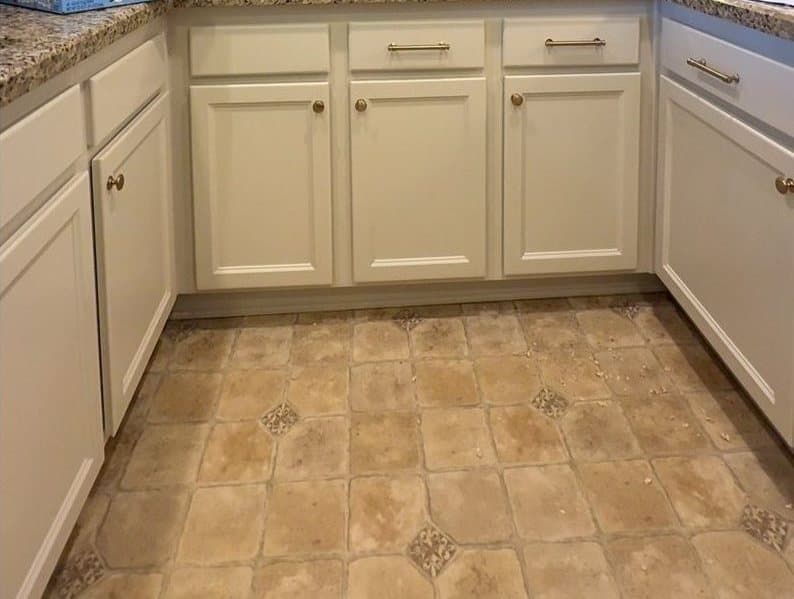 After
After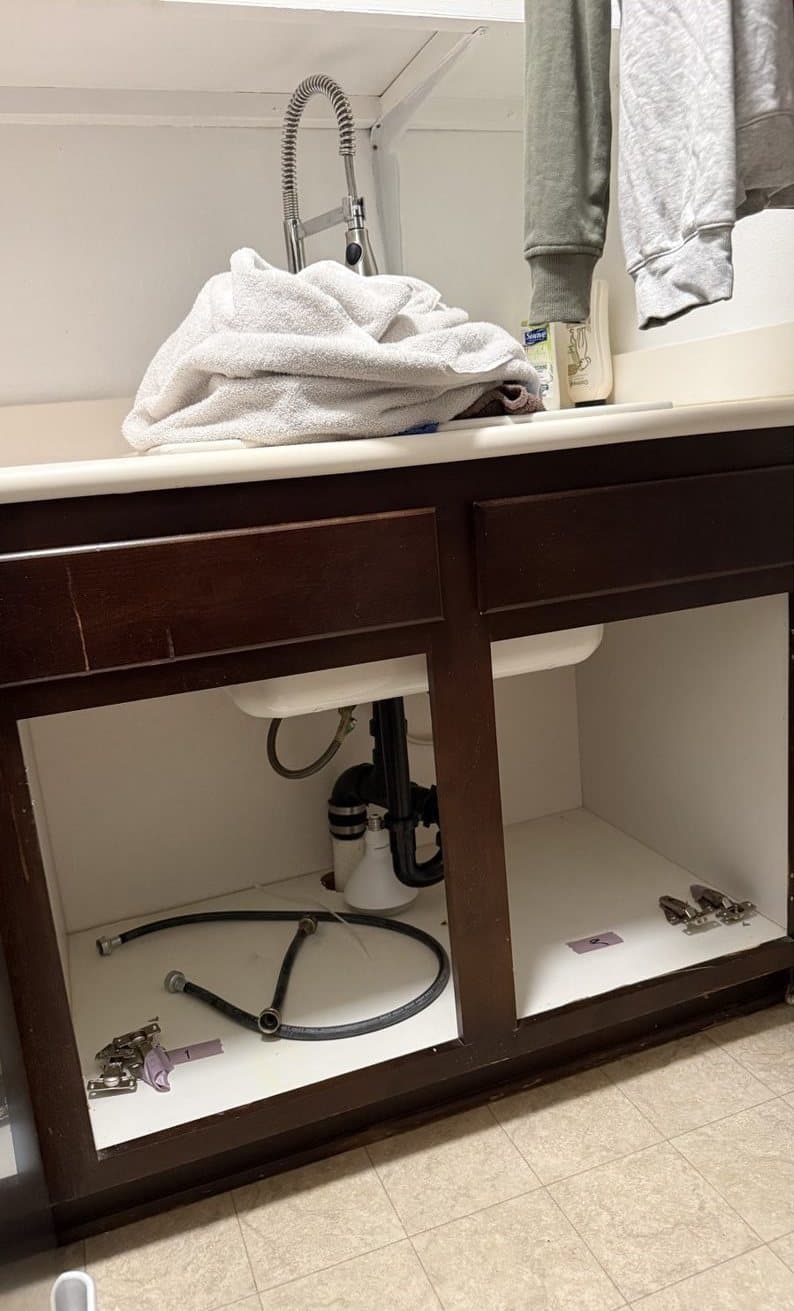 Before
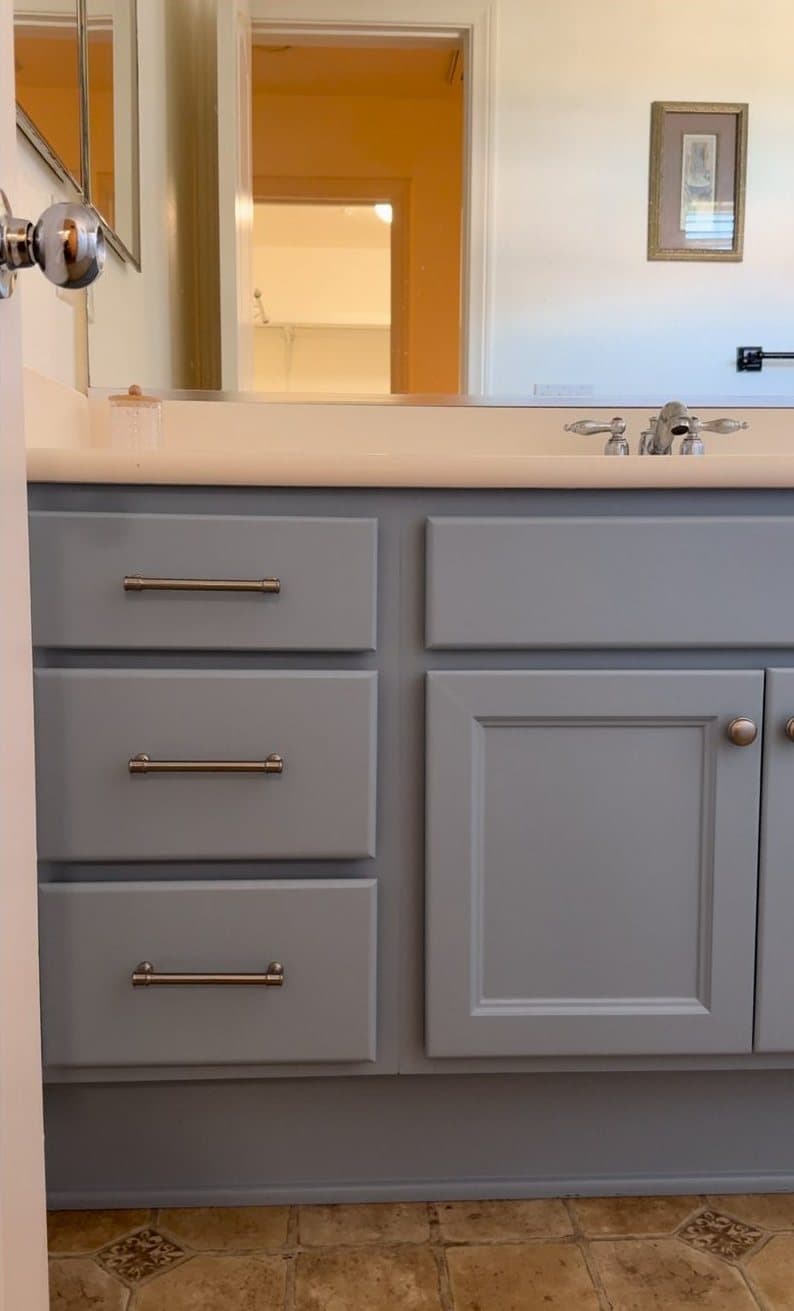 After
After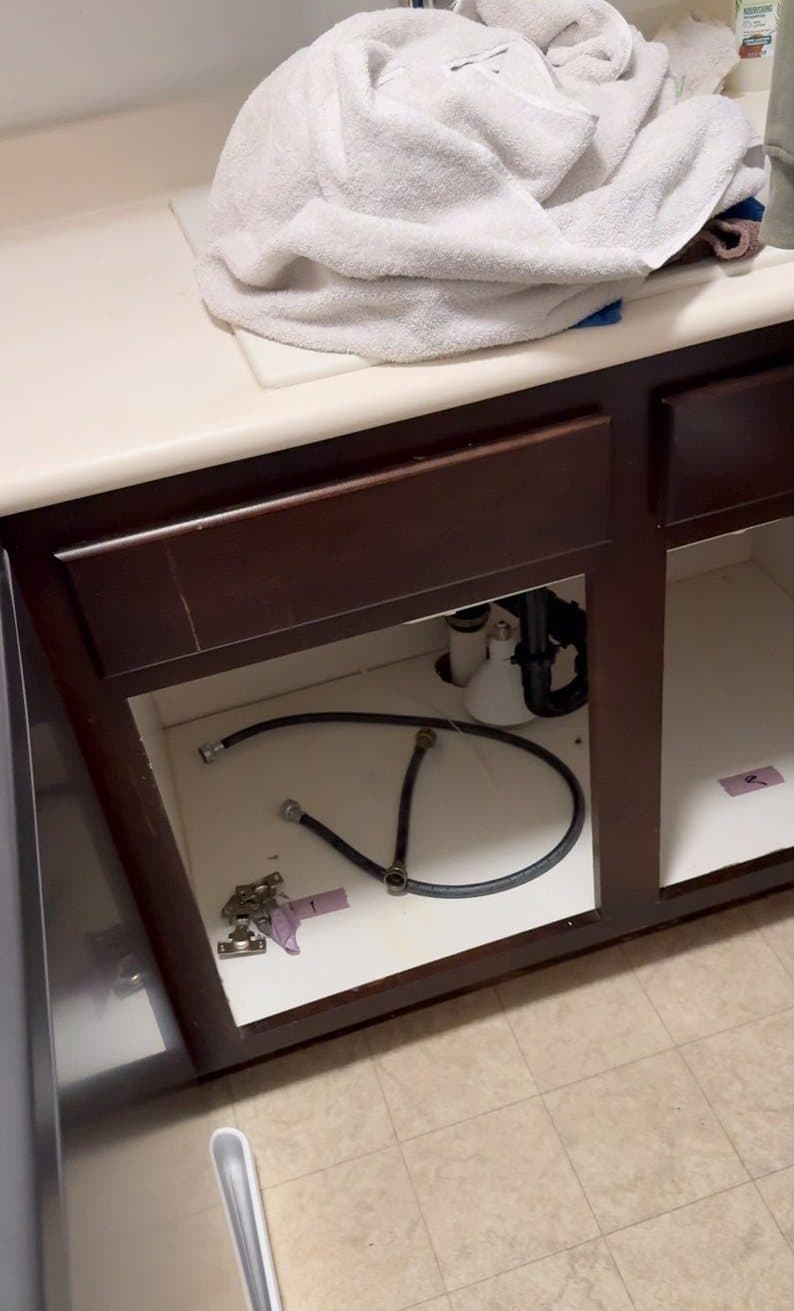 Before
 After
After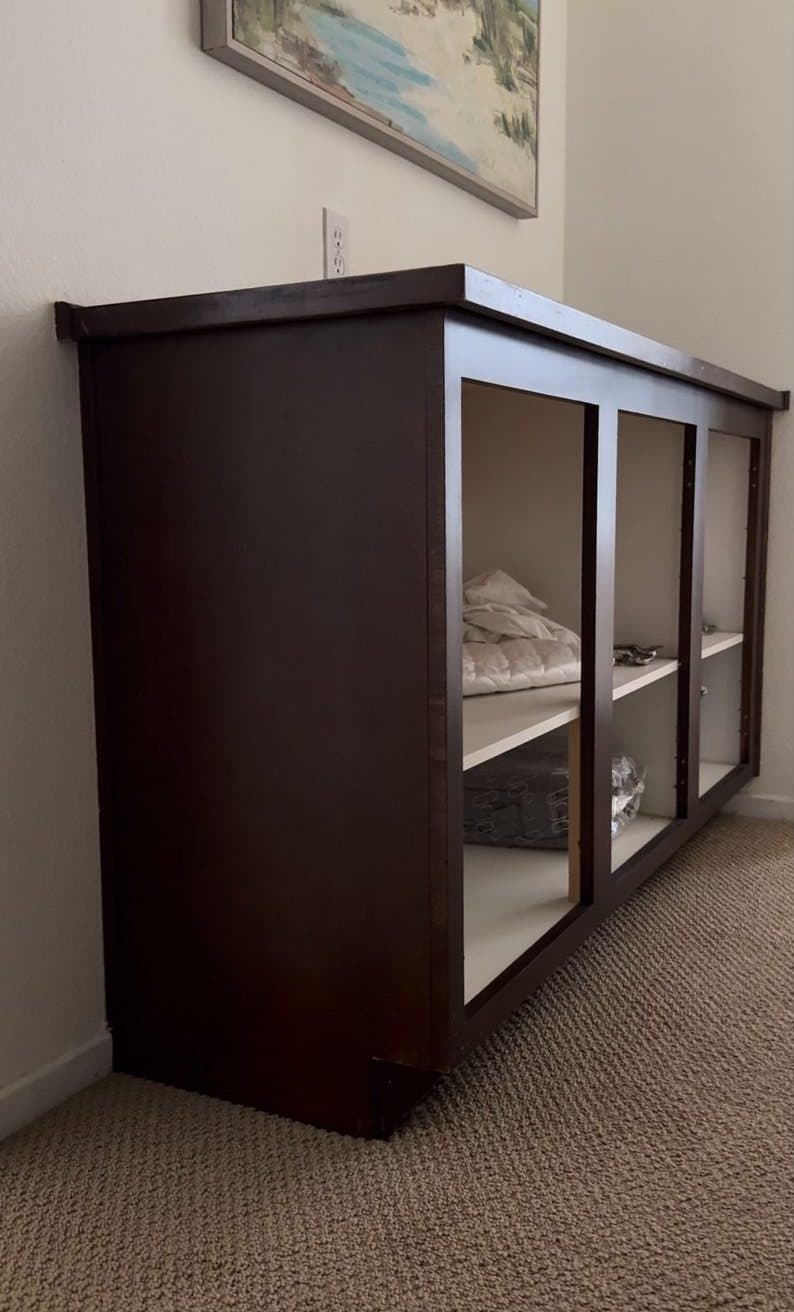 Before
 After
AfterThinking about your cabinets?
If your cabinet boxes are solid and you just hate the color, refinishing is almost always the smarter move. We are a father and son team, licensed, bonded and insured (CSLB #1158346), and we give free, itemized estimates across San Diego County. Learn more about our cabinet refinishing or request your free estimate.
Ready to start
your project?
HRCCoatings Inc has been serving San Diego County for 20+ years. Free estimates, premium materials, and a team that treats your home like their own.